A contact form is a good idea because it helps build credibility with your visitors as well as with Google. In this article, I will show you how to add a contact form page to your blog on blogger.
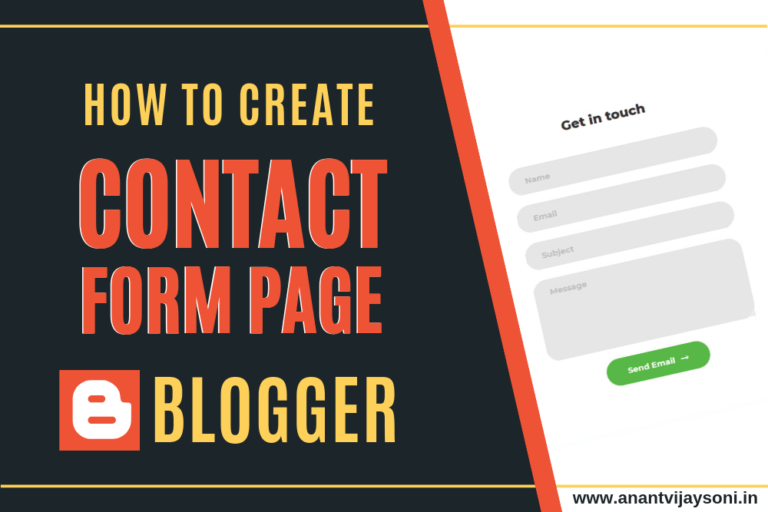
Here we will create a fully responsive and good looking contact form. Your Contact form page is looking like this:
First of all, You need to login to your blogger account. You can add a contact form in 2 ways.
With the help of Gadgets provided by google blogger, in sidebar or footer.
Follow the below steps:
Follow the below steps:
<form name="contact-form">

<div>

Your Name : </div>

<input class="contact-form-name" id="ContactForm1_contact-form-name" name="name" size="30" type="text" value="" />

<br />

<div>

Your Email: <i>(required)</i></div>

<input class="contact-form-email" id="ContactForm1_contact-form-email" name="email" size="30" type="text" value="" />

<br />

<div>

Your Message: <i>(required)</i></div>

<textarea class="contact-form-email-message" id="ContactForm1_contact-form-email-message" name="email-message" rows="5"></textarea>

<br />

<br />

<input class="contact-form-button contact-form-button-submit" id="ContactForm1_contact-form-submit" type="button" value="Send" />

<div style="max-width: 450px; text-align: center; width: 100%;">

<div class="contact-form-error-message" id="ContactForm1_contact-form-error-message">

</div>

<div class="contact-form-success-message" id="ContactForm1_contact-form-success-message">

</div>

</div>

</form>
Lastly what you may want to do is sort of post a little message “privacy message” saying that you know to respect the privacy of the individual contact and that you will not divulge your their email address and things of that just a little note there just to reassure them. so that's pretty much if you know.
If you've got any questions, leave them in the comment section and if you found this post is useful, please share with your blogger friends and community. I'll see you the next time. Thank you!!!
Read More:
This post was published on February 24, 2019 11:37 AM
https://www.youtube.com/watch?v=wm6MXs3O5WE Subscribe to My Youtube Channel Secret Trick to Earn $250 Daily with CPA Marketing… Read More
https://www.youtube.com/watch?v=JqN6DRaPFYs In this Wix dropshipping tutorial, you will learn how to create a dropshipping website… Read More
To make good money from CPA marketing, Expert's Secret strategies are required to perform well… Read More
Are you looking to turn your website into a revenue-generating asset without the hassle of… Read More
Are you looking for a way to earn money online just by sharing links? or… Read More
Welcome to our in-depth exploration of the emerging trends and opportunities in CPA marketing in… Read More
Anantvijaysoni is a free resource site for Beginners. The main goal of our site is to provide quality money making tips, tricks, hacks, and other resources that allows all beginners to improve their site(s).
This website uses cookies.


View Comments
Dear Sir,
Your Post is very Informative for us but you have to prefer attractive and UI contact us form in blogger
Thankyou Sir. Very Good Helpful Information.
Seems that I couldn't click on submit button after using this code.
Thanks for sharing helpful!